

play board games
Board game reviews, strategy tips & session reports
Dungeons and Dragons – Wyvern Mountain – Session 6
 The party barely survived the fight with Tenozak Dreadbane and rests in the room for the night. Fortunately for them it is uneventful and they awaken in the morning refreshed and ready to continue exploring Wyvern Mountain. They press on to find a glittering room with no exit and a puzzle on the wall. Quickly they realize they must go retrieve the Moonstaff.
The party back tracks to find a couple of passages they had passed up. The first has a set of stairs and then ends at a door. Render listens at the door but hears nothing. The party opens the door to see a staff on a dias and four bloody goblin corpses on the ground. Just beyond the bodies a shadowy figure stands motionless. Not wanting to waste any time Render rushes the figure followed by Donaar who breathes his acid breath and hits the figure.
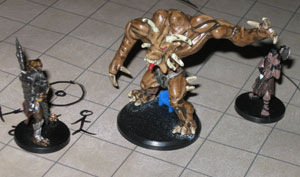
Upon closer inspection the party notices this is some sort of flesh golem. Tony rushes into the doorway and fires two arrows at the golem. Both sink deep into the construct and wound him badly. The golem lashes out and smacks Donaar leaving him dazed. Orsik wades in to the fray and hits the golem with his warhammer.
The fight continues as the heroes continue to pummel the large golem. Auidar and Tony both inflict a lot of damage by hitting extra hard for extra damage. After a few rounds of combat Orsik lands a killing blow and the golem falls.
Auidar quickly grabs the Moonstaff from the dias and everyone heads back to the glittering room. The room has a sequence of moons and a riddle on the wall. “Mirror, mirror, in the sky, Show the moon’s glory, before it draws nigh. Let the wolves howl at their master, As it fades from the night, Only then shall the Mistress, Reveal the Inner Sanctum of Light.” There is also a hole in the floor of the room that seems to be the same diameter as the staff. After a bit of discussion the party places the staff in the hole. A beam of light becomes focused by the gem at the top of the staff. After reading the riddle a few more times the party shines the beam on the moons in the correct order and a door opens to reveal a staircase in the floor.
 The party descends down the stairs for what seems like forever. Finally they come to the bottom to find a natural cavern that heads off to the north. Just as they are looking around the room they hear a howl coming from their flank. Turning they see two barghests. Render steps up and attacks but misses. He is quickly flanked by the two beasts and one grabs hold of him as the other gnaws deeply into Render’s flesh.
Auidar casts chill wind but misses as does Tony. Render swings at the barghest attached to his arm and hits, but beast hags on. Donaar also hits the one grabbing Render but it refuses to let go. He digs deeply into Render and seems to heal some of his recent wounds. Meanwhile the other barghest howls. The sound seems to injure and rattle the party.
Auidar switches to his rat form and pounces on one of the barghest. Tony follows up with a few arrows on the same foe and Render is finally released. The party surrounds the other barghest who lashes out and grabs onto Render. Instantly he drains life from the barbarian heals a little.
Orsik notices Render’s condition and inspires him to fight on while Donaar slashes the beast and breathes acid on him. The outnumbered barghest stands little chance and finally slumps motionless to the ground.
DM Notes:
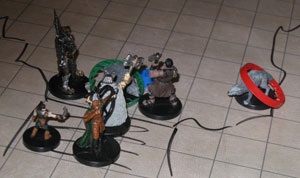
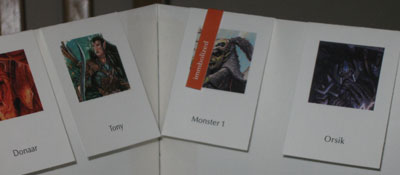
 I tried using a different way of tracking initiative and thought it went really well. I got the idea for this from www.slyflourish.com and have to say it makes things easier for me and the PCs. I also used small hangers to denote certain ongoing effects and conditions. This helped everyone remember what bonuses or penalties each person had. This really helped move the game along and made recordkeeping much easier. As far as the module I have to say I was a bit disappointed in the riddle. The way it is written in the book there are two solutions, but neither is laid out or explained very well. I had to figure it out while having the solution instead of just looking and knowing the correct order of the answer. The fights went well and were pretty challenging, but there was no fear of TPK.

Leave a Reply